Making a smart vintage camper
My attempt to bring modern tech to a very old camper.
In early 2020, with my restoration of a 1971 fiberglass "egg" camper well underway I started thinking about how it could be fun to bring some modern technology to it. I mean, if you could bring modern automation, monitoring and entertainment to a 50-year-old travel trailer, how cool is that?
All of the code for this project is in the pi-smarter-camper repo.
As an Amazon Associate I earn from qualifying purchases. In other words, I get commissions for purchases made through links in this post. When you follow a link and buy something, it doesn't cost you anything extra, but I may make buck or two. So thank you! That said, any recommendations I make are my recommendations, based on my experience, and are not paid endorsements. I only point you toward the stuff I use, and if I don't like it, you'll hear about why.
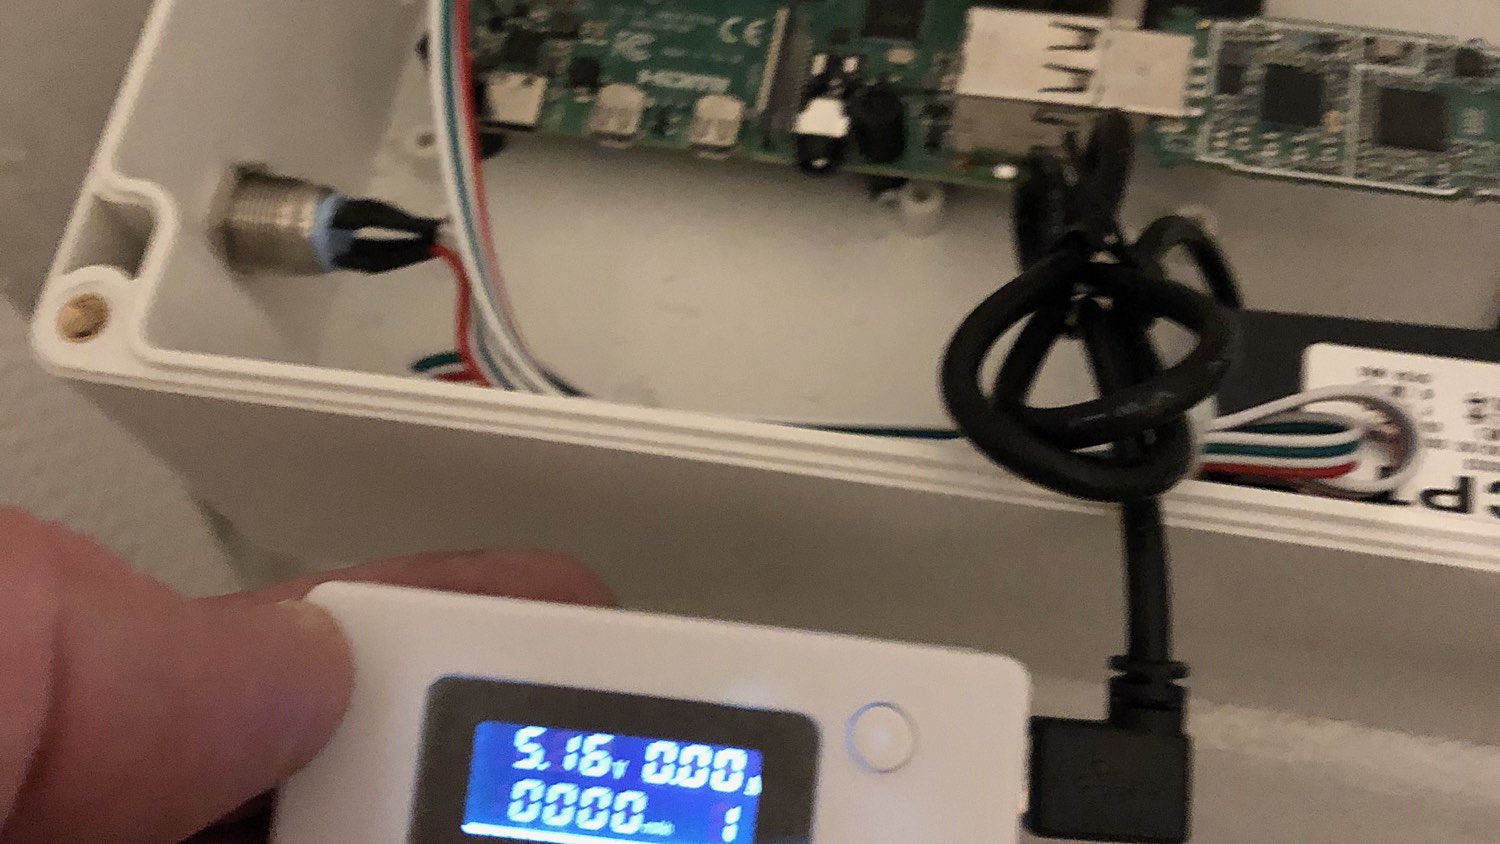
To get started, I looked at a Raspberry Pi I had recently picked up (back when you could still do that), it seemed like it would make the perfect base. It's small, affordable, works well on low voltage and is basically built for the sort of experimenting I'd be doing.
So I took a good guess at what I'd want and started putting some parts together in a a decent-sized water-resistant enclosure. It was bigger than I needed, but would still tuck neatly into the bottom of the closet in the trailer, by the wheel well.
Inside the box I mounted a Pi 4 using lightweight (and corrosion resistant) nylon stand-offs. I could probably have used a cheaper Pi but I thought the 4 would provide the best media server capabilities, and best handle multi-tasking other things I want to do.
I put in a 250GB SSD drive, chosen because it was reasonably cheap, appeared to be rugged and supported fast USB 3.1. I needed a drive to hold all the media files. I drilled out the faux bolts in the corners and then mounted the actual drive to the enclosure lid using stainless steel machine screws and acorn nuts.
A simple 12V-5V stepdown converter took the camper's 12V system power down to something Pi-Friendly. I also added a Power button with LED to safely power the Pi up and down. The button is recessed so it won't get toggled accidentally as the trailer jostles around, and it incorporates an LED so I can see if the PI is on or not. Pretty spiffy.
I also ordered a 15.6" touchscreen monitor. It checked all the boxes for my purposes:
- Touchscreen, so it can act as a control center
- Large enough and high enough resolution (1920x1080) to comfortably watch movies while in bed.
- Will fit on the closet door
- Single USB-C cord for power and data
Wiring a Pi power switch
Wiring up a Pi power switch seems like it should be the simplest thing imaginable. It is not. That said, it's not that hard once you sort through a gazillion how-to guides to find the one that makes sense. There are nice, helpful scripts in the the Pi Power Button repo and related instructions, which make the scripting part pretty straightforward.
The key is to use a momentary switch with a resistor built in, so you're protecting the Pi. I used this power button with LED and have been happy with it.
Note when you're following the instructions, the files don't have to be written -- they're in the repo. Just use cp to move them where you need them and be sure to chmod them to set the permissions.
A simple tutorial
took care of the LED portion of the switch.
One catch: because there's a power switch and an LED, you have to think through the GPIO pins a little more. I used 5 and 6 for the Power button, as outlined in the instructions, then used 8 and 14 for the LED.
Installing a motion sensing camera
I wanted to have a motion sensing camera by the front door of the camper to provide a layer of security when we're not there. I'd already prototyped one with a Pi Zero -- that was my first Pi project -- so it seemed like a good place to start here, too.
I needed to drill two holes in the cabinet side wall, one each for the PIR sensor and one for the camera. This hurt a bit, since I had filled dozens of holes in the fiberglass since I got the trailer, but I figured I'd filled so many holes, what's a couple more if I needed to fill them later. A step drill bit really helps for these sorts of things, and it made short order of making a couple of accurately sized holes.

Inside the closet, I continued to ignore the long-unpainted fiberglass (you can't see it anyway) and used a bit of butyl tape to hold the PIR sensor in place. Butyl tape is amazing stuff. If you have a travel trailer, you really should have some on hand.

To get from the camera and sensor at the top of closet to the Pi, which lives in a box at the bottom, I had to pick up a two-meter Pi camera ribbon cable and splice in a lot of extra wire to run from the PIR sensor to the GPIO pins. I used some white duct tape to keep it held safely in an existing channel at the side of the door.

Then I used a Dremel cut-off wheel to cut a groove in my project box and fed the wires in, with more butyl tape to keep dust and moisture out.

From there, it was just a matter of hooking up the ribbon cable and the PIR. The ribbon cable is easy and for the PIR there are only three pins: One of them goes to a 5v pin on the GPIO, one goes to ground, and the center output pin. In my case, the code expects it to be Pin 7.
Testing the motion sensor hardware
With both the camera and the PIR motion sensor wired in, I wanted to test it before going further.
When I SSH into the Pi, I should have been able to run raspistill -o testshot.jpg from the command line. But since this was a fresh Pi, I got a Camera is not enabled in this build error. I needed to sudo raspi-config and turn it on.
But after that, I still saw Camera is not detected. Time to go double-check the wiring. Sure enough, I inserted the ribbon cable backwards, like I always do. Rasperry Pi tries to make it idiot-proof but apparently I am a special kind of idiot.
After double-checking all connections raspistill -o testshot.jpg was running correctly. Now it's time to write some software.
The motion sensor code
All of the code is in the pi-smarter-camper repo. Inside the Flask app.py file there's a fair bit of setup going on.
In index we're creating a lot of variables that are, by default, nothing. But if they get set later we'll be able to show the status.
The real meat of it is happening down in camera_action, which lets us toggle the camera off and on.
In particular, if we're turning the camera and motion detection on, we're starting it in a thread in the background, so the webapp can go ahead and continue to do its thing.
When we start the camera, we're calling start_motion_detection from monitoring/motion_sensing.py. This is made much simpler thanks to the gpiozero library.
Basically, the start_motion_detection function initializes things, starting up the motion detection and configuring the camera. Then, when some movement is detected it uses a lambda to call take_photo and actually store a photo locally.
Back in the app.py actions function, the second half just handles clean shutdown. If we turn the camera off, we want to be sure we cleanup on the Pi and leave everything as tidy as possible.
Either way, we redirect back to index, now with those variables populated so we can show what we just did. Now I needed a way to show the camera status. A control center, if you will.
Setting up a local web server
The goal here is to be able to monitor the status of things from anywhere, anytime. The easiest way I know to make that happen is with a web server and app.
Normally, Django is my go-to framework for web app work, but in this case I decided to use Flask for a few reasons:
- It's really lightweight, which makes sense with the modest demands of the app and the modest resources of the Pi.
- I hadn't used it before, so there was a nice learning opportunity.
Keep #2 in mind, though, when you look at my terrible Flask code.
There are quite a few tutorials on how to set up Flask on a Pi, but it's pretty straightforward.
First, make sure everything is updated and upgraded, and install Flask:
sudo apt-get update
sudo apt-get upgrade
sudo apt-get install python-pip python-flask
sudo pip install flask
Now, if you were starting from scratch, at this point you'd want to follow a Flask tutorial. But since I have an existing Github repository I can use that will save me a ton of time.
First I navigate to where I want the code: cd /var
I want the code to be in /var/www but the www folder doesn't exist by default. That works well, though, as it gives me a clean place to clone my repository and create the www directory all at once with sudo git clone https://github.com/tBaxter/pi-smart-camper.git www
You have to run that as sudo to be able to create the www folder you're cloning into, but once you've done that, you can transfer ownership to the regular pi user with sudo chown -R -f pi /var/www/
If you cd www to go into your new www directory, and then use ls you should see
cellular_modem, LICENSE, monitoring, README.md and webapp just like you would if you visited the repo.
From there, you can move into the webapp directory (cd webapp) and start up your Flask app with python3 app.py. If everything is working correctly, you should see something like:
 * Serving Flask app "app" (lazy loading)
 * Environment: production
   WARNING: Do not use the development server in a production environment.
   Use a production WSGI server instead.
 * Debug mode: on
 * Running on http://0.0.0.0:5000/ (Press CTRL+C to quit)
From there, go to your browser and substitute the IP address for your Pi (the one you SSH'ed into) for 0.0.0.0 and you should see your new site, running on your Pi web server.
If this was a real server on the open web you'd want to use Gunicorn or something, but since traffic is limited to just me on a local machine it's fine.
Adding the touchscreen
For this project, my first thought for a screen was to use an old first-generation iPad I had laying around. Cost was zero, since I already had the iPad (and a first-generation iPad has nearly no value anymore). And I did manage to connect it up to the Pi and show the screen, which felt like a win, but still, it wasn't a great solution.
- It had to connect to the Pi over the network via VNC. With it being a very old iPad, that made it painfully slow.
- It was also too small to comfortably watch anything on from any distance.
- Since it was connecting over a network it required a network I might not have when I was camping.
- It wasn't really interfacing with the Pi. It was still running IOS, so my touchscreen abilities were kind of limited.
- On top of all that, mounting it in the door was going to tax my meager woodworking skills.
So with that experiment set aside, I got thinking about the touchscreen I really wanted.
- Bigger, but not too big. I need it to be small enough to mount on the closet door, but easily viewable from the bed.
- Standard VESA mounts for simple installation.
- Powered by 12v or less. I'm not running 110v line just for the monitor.
- Very thin and lightweight. Since it's mounted on the closet door, the closer to a flush mount the better.
- Simple, direct interface with the Pi.
After digging around a bit I landed on this 15.6" USB-powered touchscreen. Connecting it to the Pi was pretty straightforward and the monitor was mostly plug-and-play.

There was one wrinkle: while the monitor is USB-powered and promised to support both touch and video over a single cable, I learned the Raspberry Pi 4 does not support video over USB. Which means I'd need to use a separate HDMI cable. My closet door mounting got a bit more complicated. And ugly.
Worse yet, in the interests of making a very thin monitor, all the plugs come out the side. Having two cords poking out of the side of this thing is not the look I'm going for. To mitigate this I bought a right-angle HDMI cord and a low-profile USB-C cord.
As for actually mounting the monitor, that part was pretty simple. I found a VESA mount template online and taped it to the door to figure out where to drill.

It's hard finding anything level or square in one of these old trailers and it was tricky accounting for where the hole for the cords needed to be. If I was doing it again I'd figure out how to put the template on a monitor-sized piece of paper, so I could get a better sense of the overall positioning of things, rather than just the mount points.
For the actual mounting I used stainless steel M4 screws with integrated washers. I make a point of using stainless as much as possible in the trailer.
Creating a dashboard
With the monitor now in place a lot of things are starting to come together, and it was time to put them all in a dashboard control center for the trailer. I'm going to skip most of the gory details of the code -- it's all available on Github -- and instead just talk about what it does.
The first trick to the dashboard is to turn the Pi's Chromium Browser into a full-screen kiosk, which lets us build a web page that looks and acts like a full-screen experience.
From there, we'll use the Flask web app we set up earlier to talk to the Pi's hardware and to serve the "web page" that forms the basis of our dashboard.

Weather
The weather module first geolocates the trailer, so it automatically knows where to get the weather for. Then it uses OpenWeather to get the local weather for that area. I need to add in weather alerts still, but this works pretty well.
Plex
The Plex module, so far, is the trickiest. It's easy enough to get Plex basic info from the Plex API, but harder to get images, and I'm still working through how to best play a video from there. Even so, it alreaady can show what you were last watching and unwatched movies. I'm still working on this one.
Camera
A nice interface to turn the motion-sensing camera on and off, and to report on its status.
Wifi Status
Shows the current Wifi network and it's strength. I've written the code to show nearby networks, too, but I'm not displaying that part yet. This was planned to be the stub for building out more robust Wifi & virtual private network functionality in order to provide safer, stronger wifi for the trailer.
Time/date/messages
Doesn't do a whole lot yet other than show the local date and time. But it's a useful start.
I've got a lot of work to do on all these modules still, but it's not a bad start for a weekend's worth of work! If you have questions, comments, suggestions or whatever, file an issue on Github.
Trimming the touchscreen
With the monitor VESA-mounted to the door, it was fucntional, but I needed to do something about the ugly cords coming out of the side. Looking at the scrap wood pile, I had a revelation. I saw some left-over L-shaped wood outer corner trim that could be cut down to the screen depth and work.
After carefully measuring and cutting, I glued it together with spare wood providing some extra spacing and strength.

I drilled a hole in the lower corner for a piece of dowel that allowed me to still press the on/off button. Then I painted it white and screwed it in place from the back.

Setting up audio
This whole project had more than it's share of trials, setbacks, false starts and dead ends. If this sort of thing was easy, more people would have done it already. Getting usable audio in the trailer was definitely one of the big hurdles.
I mean, I had a wonderful touchscreen and a Pi running Plex to show movies, and a new problem: I couldn't hear it. The meager speakers in the monitor were mostly covered by the frame around it, and it didn't matter because the Pi couldn't really push enough volume anyway.
Figuring I didn't need audiophile quality just to watch a movie at bedtime or if it's raining, but I did want to put a premium on low-weight, low-cost, low-power solutions, I ordered a Kinter MA170 amp from eBay and some nice little marine speakders.
I committed to doing it and cut holes for the speaker in the new closet door I had just made a couple of months earlier. Wired it all up and... it sounded horrible. Just horrible. A whiney, popping mess. All noise, no audio to speak of.
So I spent money on noise suppressor clips that helped, but not much.
And I bought a HifiBerry which, honestly, seems to solve a different problem. If I'd bought the version with a built-in amp it might have been just the ticket, but I'm unlikely to find out now. This was also a particularly painful dead-end because I spent a long time unwinding the audio settings it needed changed, and I'm still not sure I've got that completely sorted out.
Then I bought a noise isolator which also helped, but not enough.
I mucked around with the power feed, with all sorts of settings (both in hardware and with software) and generally tried everything until finally I figured that everything was playing nicely, albeit with low volume, except the amp. So I broke down and bought another amp.
And this turned out to be a nice little amp for the purpose. The noise problem was gone immediately, it's plenty loud for the trailer and the sound quality is pretty good, even through the diminutive speakers. It turns out the original Kintner amp was just trash, which is why I won't link to it. The new amp works great, though. I'm happy.
Addendum: Setting up the Pi from scratch (as of May 2021)
After using the camper through 2020 -- and utterly failing to document any of it -- I had some ideas on how I could do it better this year. In particular, I found that the thing I used the Pi for most (movies) wasn't working well. I was getting a lot of buffering and audio issues that were unpredictable and frustrating. Sometimes it worked fine. Others, not so much.
So I figured I'd start from the ground up with an OS optimized for media playback. LibreElec, here we come! Why LibreElec? Because it's lightweight, built for media, and as I'm writing this OSMC still doesn't want to play nice with the Pi 4.
So with that said, on with the setup (and a lot of this will look very much like last year's guide).
There are a million and two ways to set up a Pi, but here are the steps I think need to be done every time to set up a Pi from scratch to work well as a Smart Camper media and information hub (recorded here for my own future reference as much as anything).
These steps may also be useful for other Pis acting as similar hubs, such as Magic Mirrors or car-puters.
First, get an OS on the Pi
- Use Raspberry Pi Imager to install LibreElec on a good-quality, 32GB SD card. LibreElec is lightweight and optimized for media playback, and we think it will better suit how we use the Pi when we're camping.
- Put the new card in the Pi and boot up. Assuming it starts OK, go through the first-run setup steps.
- Set a good password.
- Be sure to enable SSH
- And set a static IP. You'll be glad you did and aren't chasing ever-changing IP addresses set by your router. Note that your ISP and router may require additional work to make this happen.
Install Plex
- Ensure the external drive containing the media library is mounted and will mount automatically.
- Follow the steps to prep for Plex server installation:
sudo apt-get install apt-transport-https curl https://downloads.plex.tv/plex-keys/PlexSign.key | sudo apt-key add - echo deb https://downloads.plex.tv/repo/deb public main | sudo tee /etc/apt/sources.list.d/plexmediaserver.list deb https://downloads.plex.tv/repo/deb public main - Update packages:
sudo apt-get update. - Now get the Plex server:
sudo apt-get install plexmediaserver - And upgrade:
sudo apt-get upgrade. In the past I've cleaned up some unneeded packages, but honestly, it's probably not worth it. They're not hurting anything, really.
Pi Configuration and further installations
- Reset the resolution to 1440x900 (at 1920 it's too fine for fat fingers)
- Enable 1-wire interfacing, either through the
raspi-config"interfacing" option or by manually editing the config. - Install xscreensaver. It's by far the easiest way to control when the Pi and display go to sleep.
Code setup
- Pull my smarter camper code from the repo.
- Make sure it's on pythonpath:
export PYTHONPATH="${PYTHONPATH}:$HOME/var/www" - And just to be sure, put it in
~/.bashrctoo. - Pip install dependencies from the repo's requirements file:
pip3 install -r REQUIREMENTS.txt - Set environment variables for services we're using. See settings.py for details.
- Follow the instructions above to re-install the web server and monitoring page